Gitlab的密钥检测,引入了一个叫做gitleaks的SAST开源工具项目。
简介
gitleaks 是一个 SAST 工具,用于**检测和防止git repos 中有硬编码secret,如密码、api 密钥和令牌。Gitleaks 是一种易于使用的一体化解决方案,**用于检测代码中过去或现在的secret。
有两种检测secert模式:
detect命令用于扫描存储库、目录和文件。此命令可用于开发人员机器和 CI 环境。
原理大致上为gitleaks解析git log -p的输出。
protect命令用于扫描git仓库中未提交的更改。
原理上大致为gitleaks 将解析命令git diff的输出。
gitlab的密钥扫描采用detect模式,并且gitlab维护了一个默认规则集包含了100+个匹配规则。当然这并不能保证我们的规则集能满足所有用户的需要,所以通过下面的文档会介绍如何进行自定义配置,来满足您的生产需要。
1. 启用密钥检测扫描,手动编辑.gitlab-ci.yaml
- 在顶部栏中,选择**主菜单 > 项目**并找到您的项目。
- 在左侧边栏中,选择**CI/CD > Editor**。
- 将以下内容复制并粘贴到文件底部
.gitlab-ci.yml:include:
- template: Security/Secret-Detection.gitlab-ci.yml
- 选择**验证选项卡,然后选择验证管道。Simulation completed successfully**消息表示文件有效。
- 选择**编辑**选项卡。
- 选修的。在**提交消息**文本框中,自定义提交消息。
- 在**Branch**文本框中,输入默认分支的名称。
- 选择**提交更改**。
2. 清理存储库的历史密钥
当检测出密钥后,参考文档,这并不能完全解决问题,还需要清理fork仓库和其他克隆仓库。
3. 配置扫描设置
可以使用CI/CD变量更改密钥检测扫描设置,也就是variables
例如:
include:
  - template: Security/Secret-Detection.gitlab-ci.yml
secret_detection:
variables:
SECRET_DETECTION_HISTORIC_SCAN: "true"
要忽略密钥,请将其 gitleaks:allow作为注释添加到包含密钥的行。
例如:
"A personal token for GitLab will look like glpat-JUST20LETTERSANDNUMB" #gitleaks:allow
| CI/CD variable |
Default value |
Description |
| SECRET_DETECTION_EXCLUDED_PATHS |
” “ |
根据路径从输出中排除密钥。 |
| SECRET_DETECTION_HISTORIC_SCAN |
false |
标记以启用Gitleaks历史扫描。 |
| SECRET_DETECTION_IMAGE_SUFFIX |
”” |
Suffix added to the image name. If set to -fips,FIPS-enabledimages are used for scan. SeeUse FIPS-enabled imagesfor more details.Introducedin GitLab 14.10. |
| SECRET_DETECTION_LOG_OPTIONS |
”” |
可以引入git log ,用于定义commit范围的选项 |
默认情况下,Secret Detection 仅扫描 Git 存储库的当前状态。未检测到存储库历史记录中包含的任何秘密。为了解决这个问题,Secret Detection 可以扫描 Git 存储库的完整历史记录。
在启用 Secret Detection 之后,您应该只进行一次完整的历史扫描。完整的历史记录可能需要很长时间,尤其是对于具有冗长 Git 历史记录的大型存储库。完成初始完整历史扫描后,仅使用标准秘密检测作为管道的一部分。
要启用完整的历史密钥检测,请在您的文件中 .gitlab-ci.yml将变量 SECRET_DETECTION_HISTORIC_SCAN设置为 true
4. 自定义密钥检测规则
4.1禁用预定义的分析器规则
如果有您不想激活的特定密钥检测规则,您可以禁用它们。
- 在项目的根目录下创建一个
.gitlab目录
- 在
.gitlab目录下创建一个自定义规则文件 secret-detection-ruleset.toml
- 在**[[secrets.ruleset]]** 部分中,将
disabled设置为true
- 在一个或多个**
[secrets.ruleset.identifier]**部分列出要禁用的规则,列出要禁用的规则,每个 ruleset.identifier部分包含:
- 预定义规则标识符的type字段。
- 表示规则名称的value字段。
例子:
[secrets]
  [[secrets.ruleset]]
    disable = true
    [secrets.ruleset.identifier]
      type = "gitleaks_rule_id" # 默认
      value = "RSA private key" # [[rules]] id的值
4.2 覆盖预定义的分析器规则
如果您想要自定义特定的 Secret Detection 规则,您可以覆盖它们。例如,您可以修改特定密钥的严重性。
覆盖规则:
- 在项目的根目录下创建一个
.gitlab目录
- 在
.gitlab目录下创建一个自定义规则文件 secret-detection-ruleset.toml
- 在一个或多个**
[secrets.ruleset.identifier]**部分列出要覆盖的规则。每个 ruleset.identifier部分包含:
- 预定义规则标识符的type字段。
- 表示规则名称的value字段。
- 在
ruleset.override部分,提供要覆盖的 key。有效 key为:
- description
- message
- name
- severity:(有效值:Critical, High, Medium, Low, Unknown, Info)
例子:
[secrets]
  [[secrets.ruleset]]
    [secrets.ruleset.identifier]
      type = "gitleaks_rule_id"
      value = "RSA private key"
    [secrets.ruleset.override]
      description = "OVERRIDDEN description"
      message = "OVERRIDDEN message"
      name = "OVERRIDDEN name"
      severity = "Info"
4.3 合成一个自定义配置
# Title for the gitleaks configuration file.
title = "Gitleaks title"

# Extend the base (this) configuration. When you extend a configuration
# the base rules take precedence over the extended rules. I.e., if there are
# duplicate rules in both the base configuration and the extended configuration
# the base rules will override the extended rules.
# Another thing to know with extending configurations is you can chain together
# multiple configuration files to a depth of 2. Allowlist arrays are appended
# and can contain duplicates.
# useDefault and path can NOT be used at the same time. Choose one.
[extend]
# useDefault will extend the base configuration with the default gitleaks config:
# https://github.com/zricethezav/gitleaks/blob/master/config/gitleaks.toml
# 是否使用默认的扫描规则
useDefault = true
# or you can supply a path to a configuration. Path is relative to where gitleaks
# was invoked, not the location of the base config.
# 您可以提供配置的路径。Path是相对于调用gitleaks的位置而言的,而不是基本配置文件的位置。(我理解是扩展配置的文件路径)
path = "common_config.toml"

# An array of tables that contain information that define instructions
# on how to detect secrets
[[rules]]

# Unique identifier for this rule
id = "awesome-rule-1"

# Short human readable description of the rule.
description = "awesome rule 1"

# Golang regular expression used to detect secrets. Note Golang's regex engine
# does not support lookaheads.
# 不支持正则表达式的先行断言(lookahead)
# 先行断言介绍文档:https://www.runoob.com/w3cnote/reg-lookahead-lookbehind.html
regex = '''one-go-style-regex-for-this-rule'''

# Golang regular expression used to match paths. This can be used as a standalone rule or it can be used
# in conjunction with a valid `regex` entry.
# 匹配文件&路径
# 匹配文件'''1.log'''
# 匹配路径'''opt/1.txt'''
path = '''a-file-path-regex'''

# Array of strings used for metadata and reporting purposes.
# gitleaks-report.json 输出报告会打印相关tag
tags = ["tag","another tag"]

# Int used to extract secret from regex match and used as the group that will have
# its entropy checked if `entropy` is set.
secretGroup = 3

# Float representing the minimum shannon entropy a regex group must have to be considered a secret.
# entropy 参数用于设定一个阈值,当一个正则表达式组的香农熵大于或等于这个阈值时,它被认为是一个密钥。
entropy = 3.5

# Keywords are used for pre-regex check filtering. Rules that contain
# keywords will perform a quick string compare check to make sure the
# keyword(s) are in the content being scanned. Ideally these values should
# either be part of the idenitifer or unique strings specific to the rule's regex
# (introduced in v8.6.0)
# "keywords用于预先进行正则表达式检查过滤。带有keywords的规则会执行快速字符串比较检查,以确保待扫描的内容中包含关键词。理想情况下,这些keywords应该是标识符的一部分,或者是规则的正则表达式特定的唯一字符串(自 v8.6.0 版本引入)"。
# 有这些关键字的匹配才会进行正则表达式检查,例如密码auth:123 和 123,文件中出现了auth字符串才会检查这个文件是否含有密钥,如果只有123,则会不检测。
keywords = [
  "auth",
  "password",
  "token",
]

# You can include an allowlist table for a single rule to reduce false positives or ignore commits
# with known/rotated secrets
# 白名单减少误报
[rules.allowlist]
description = "ignore commit A"
commits = [ "commit-A", "commit-B"]
paths = [
  '''go\.mod''',
  '''go\.sum'''
]
# note: (rule) regexTarget defaults to check the _Secret_ in the finding.
# if regexTarget is not specified then _Secret_ will be used.
# Acceptable values for regexTarget are "match" and "line"
regexTarget = "match"
regexes = [
  '''process''',
  '''getenv''',
]
# note: stopwords targets the extracted secret, not the entire regex match
# like 'regexes' does. (stopwords introduced in 8.8.0)
# 忽略字符串,在匹配的字符串中,stopwords不会扫描为密钥泄漏
stopwords = [
  '''client''',
  '''endpoint''',
]


# This is a global allowlist which has a higher order of precedence than rule-specific allowlists.
# If a commit listed in the `commits` field below is encountered then that commit will be skipped and no
# secrets will be detected for said commit. The same logic applies for regexes and paths.
# 这是全局的白名单列表,优先级高于特定规则
[allowlist]
description = "global allow list"
commits = [ "commit-A", "commit-B", "commit-C"] # 忽略提交
paths = [
  '''gitleaks\.toml''',
  '''(.*?)(jpg|gif|doc)'''
]

# note: (global) regexTarget defaults to check the _Secret_ in the finding.
# if regexTarget is not specified then _Secret_ will be used.
# Acceptable values for regexTarget are "match" and "line"
# 正则匹配字符串,match模式可以理解为精准匹配。line则是匹配到关键词后这一行都会被白名单,不管这行有没有其他泄漏密钥。
regexTarget = "match"

# 正则匹配规则
regexes = [
  '''219-09-9999''',
  '''078-05-1120''',
  '''(9[0-9]{2}|666)-\d{2}-\d{4}''',
]
# note: stopwords targets the extracted secret, not the entire regex match
# like 'regexes' does. (stopwords introduced in 8.8.0)
stopwords = [
  '''client''',
  '''endpoint''',
]
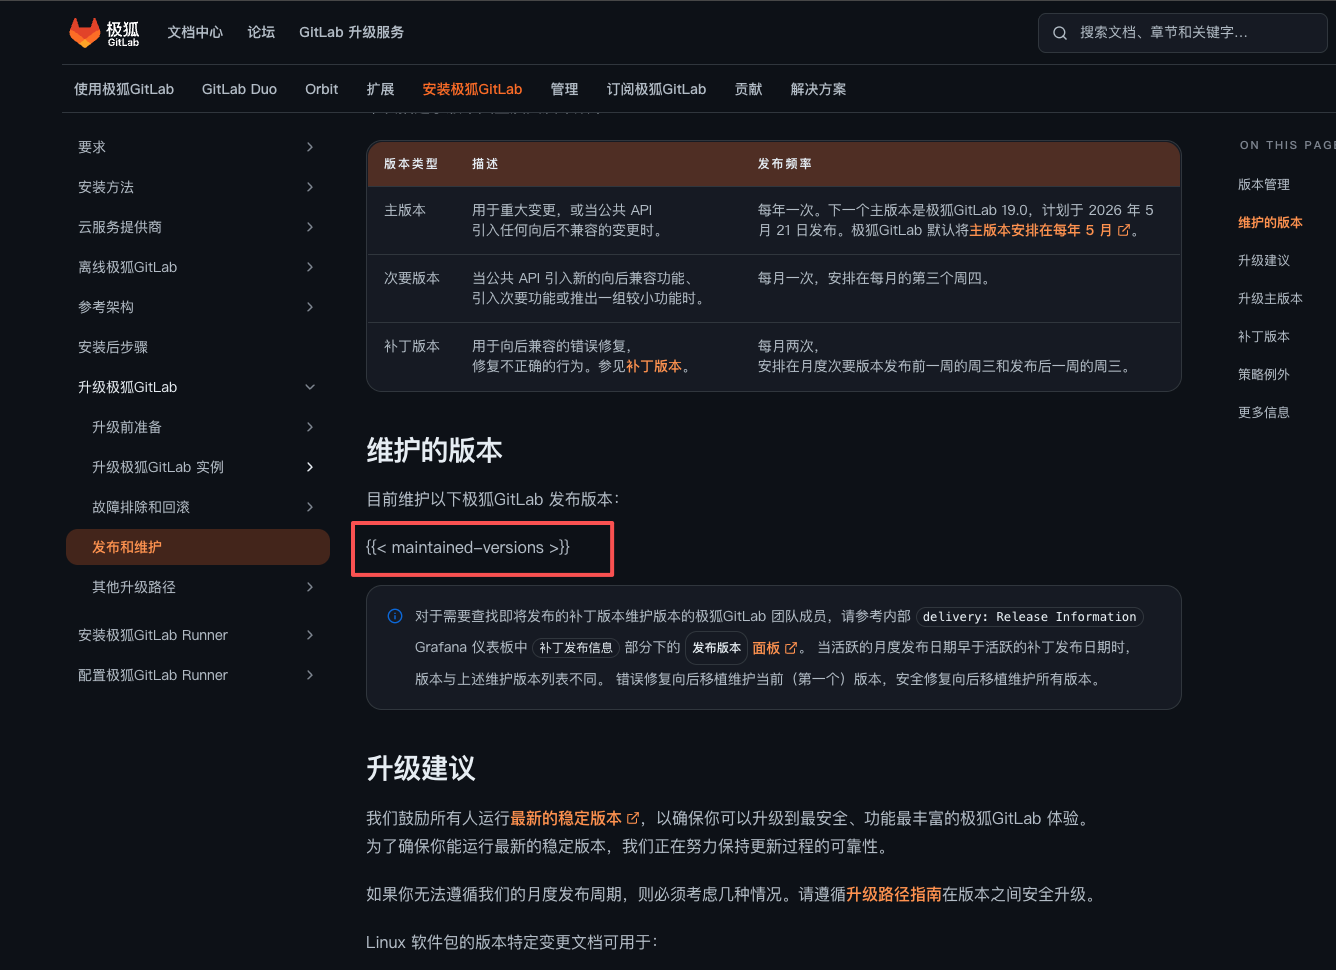 这边是不是个问题啊,内容没有显示出来385 人气#其他
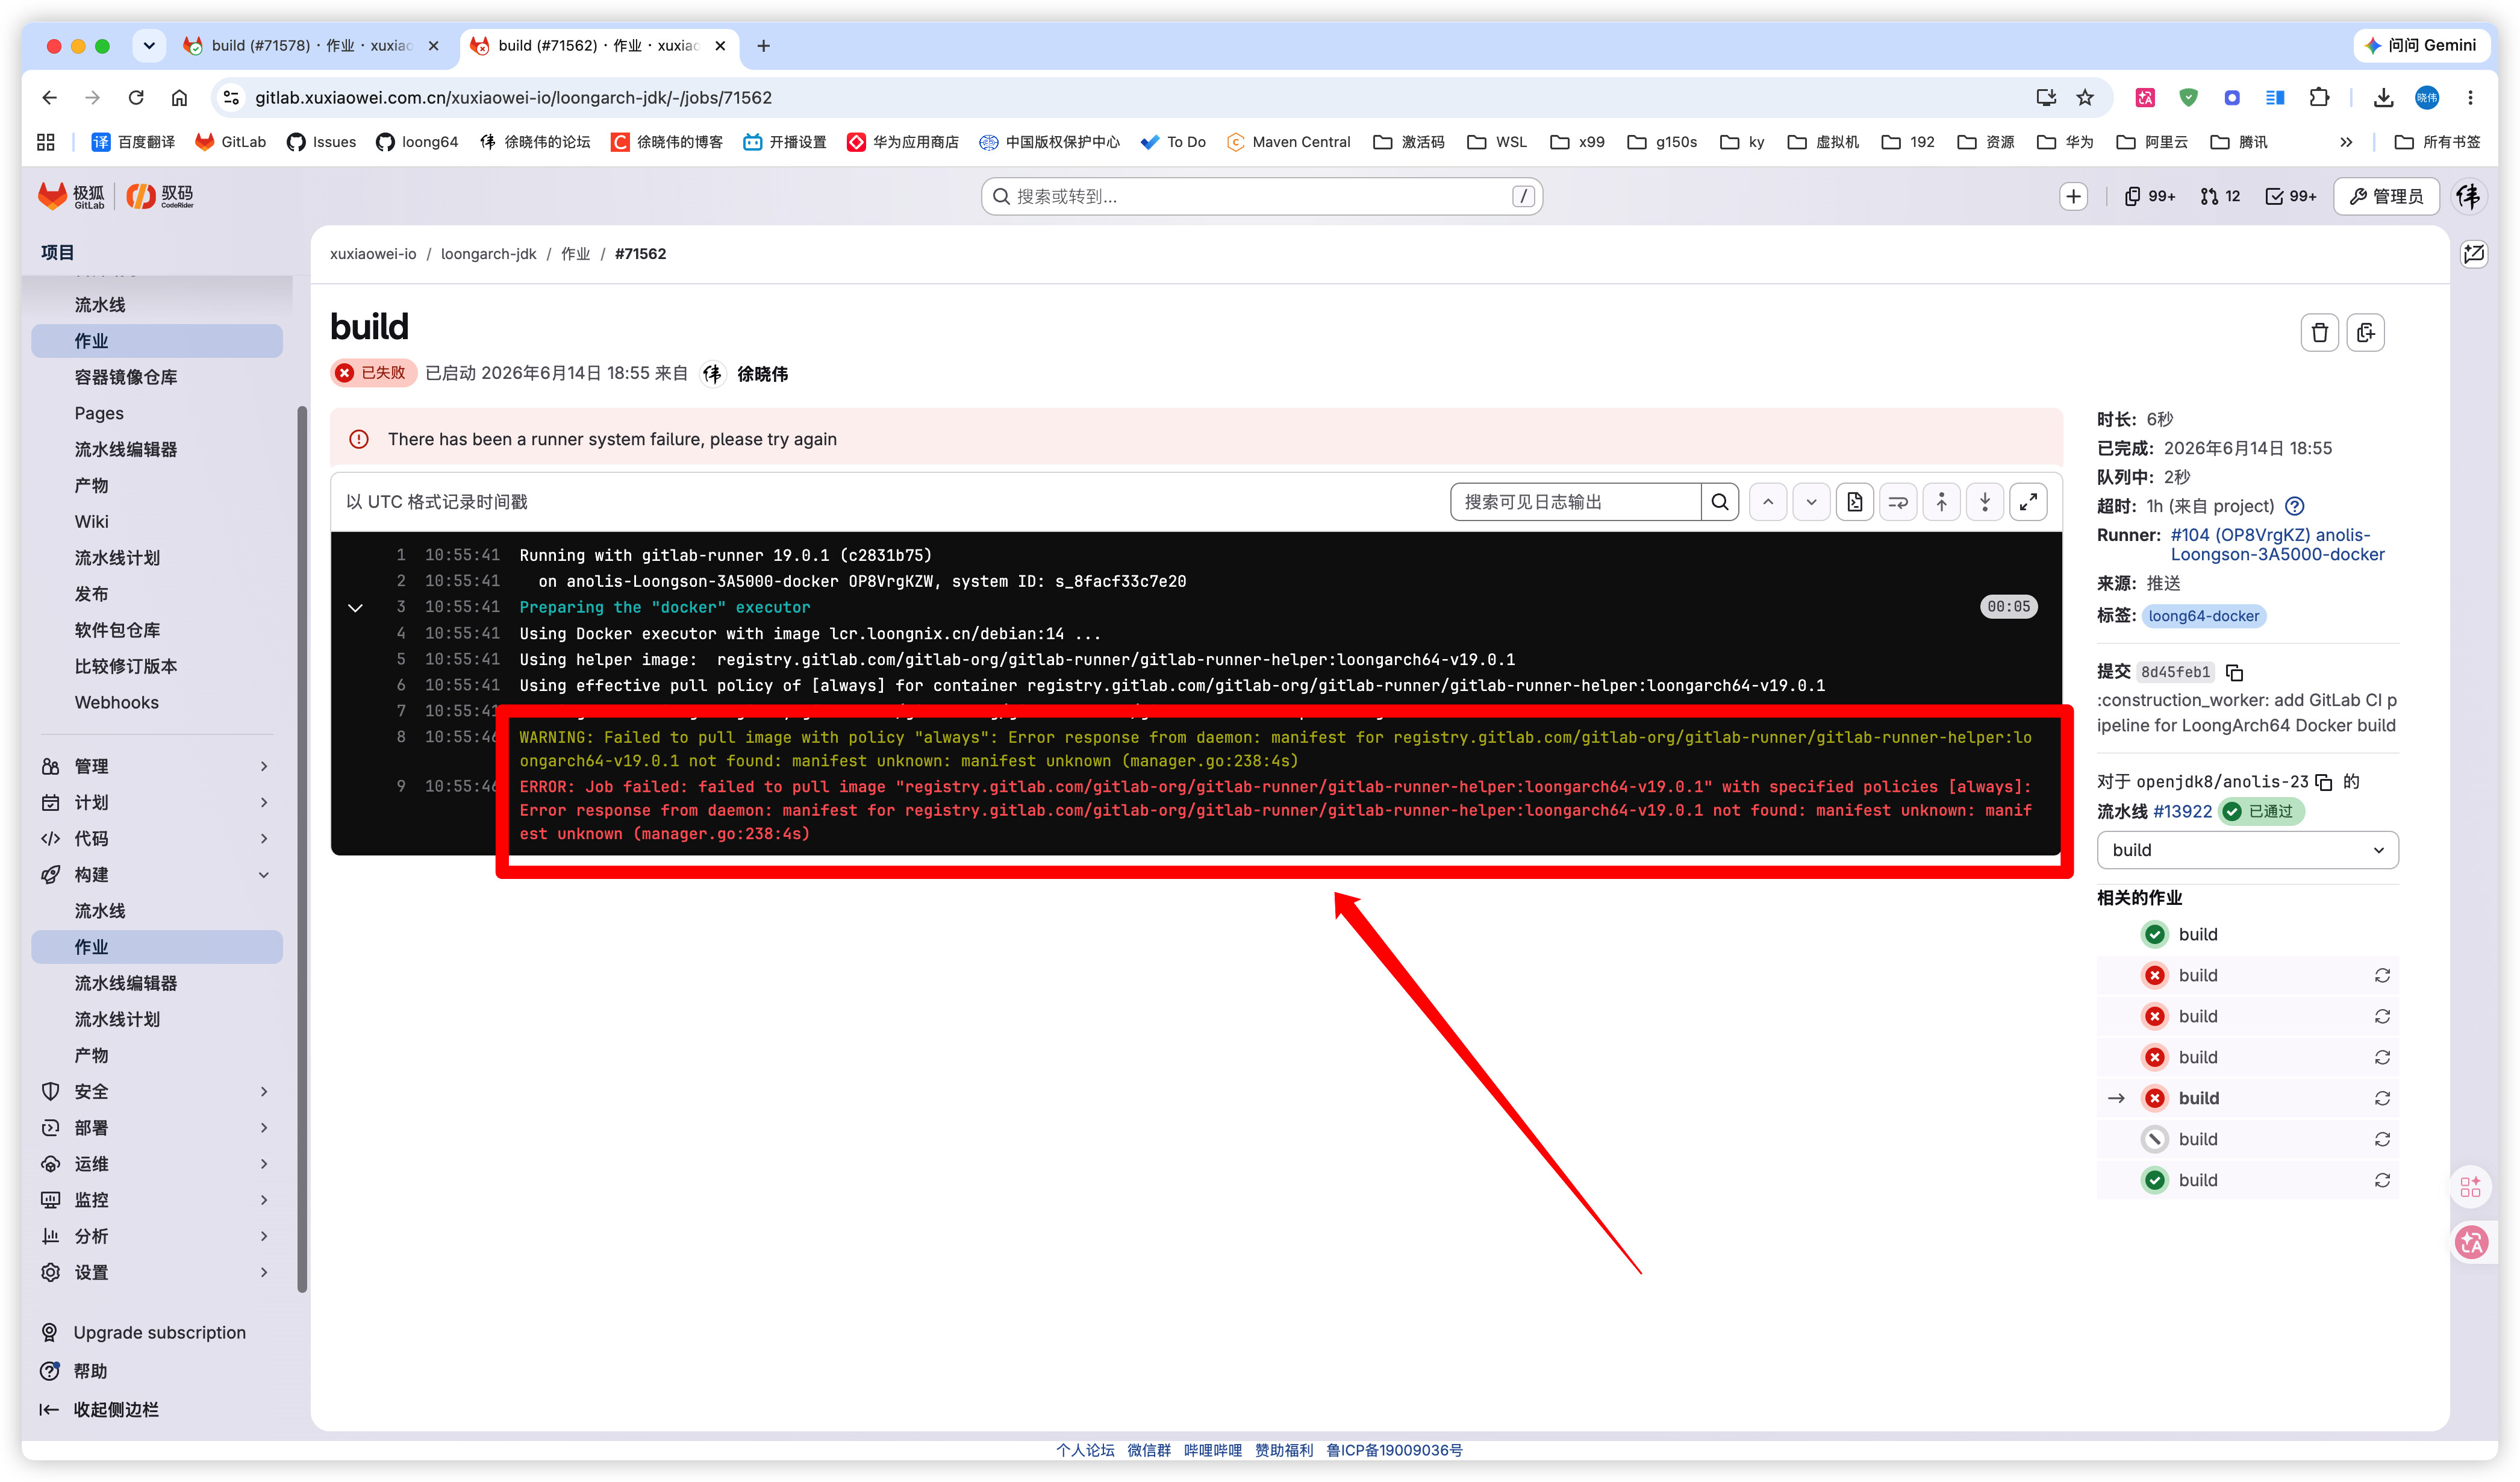 GitLab Runner 可以在 LoongArch64 (loong6472 人气#CI/CD
 CORERIDER插件2 人气#安全漏洞
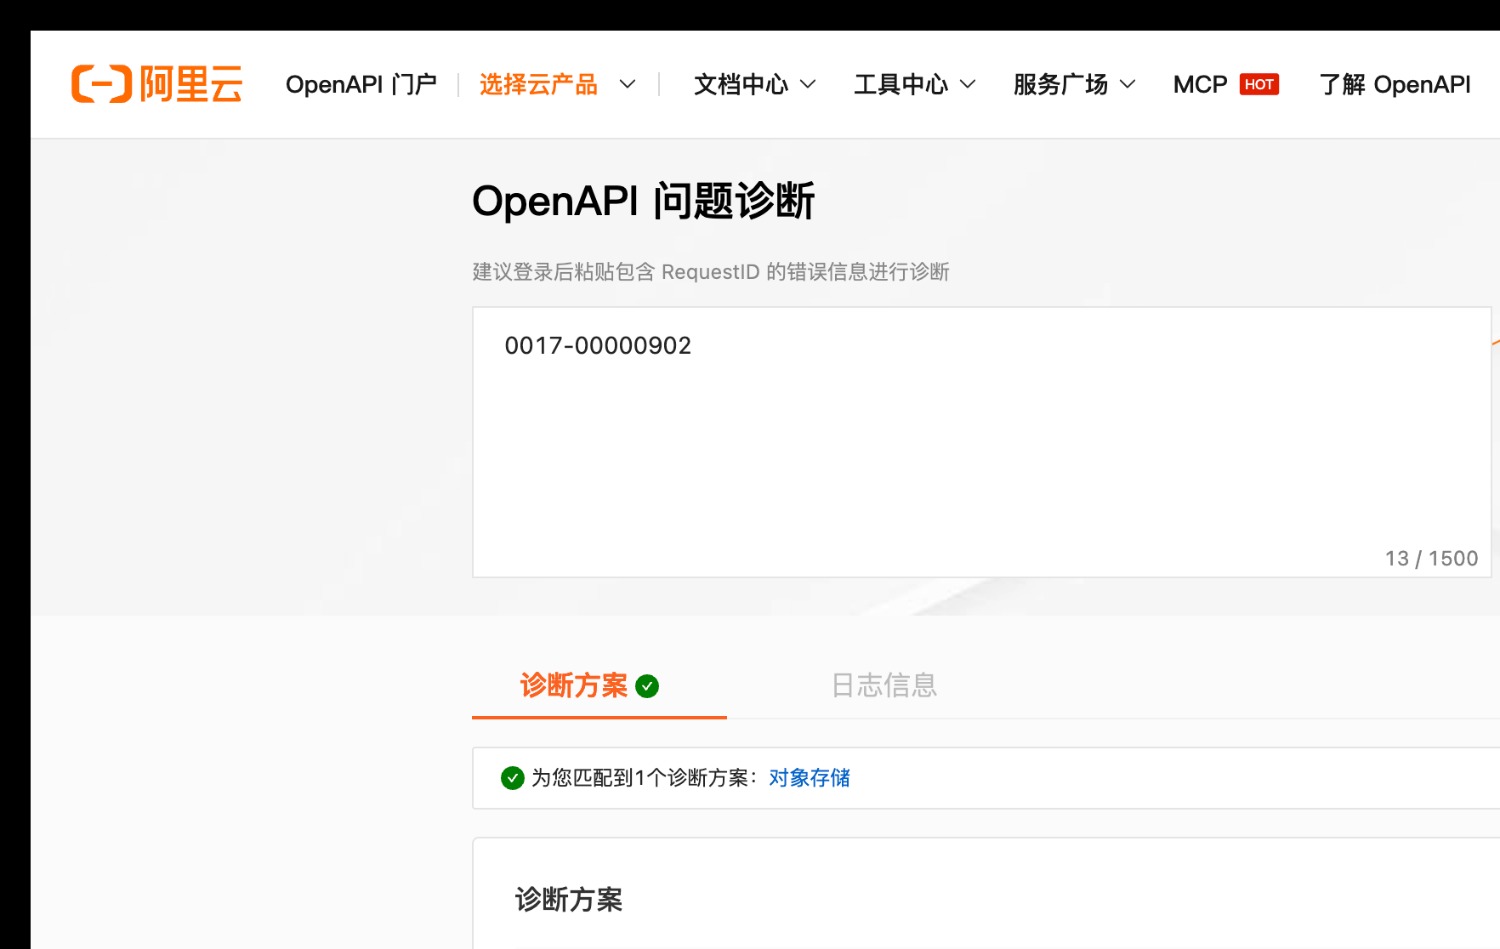 gitlab-jh:18.7.1 配置阿里云 OSS 对象存储1831 人气#安装配置
 关注公众号
关注公众号 添加专业顾问