本帖最后由 ALEX 于 2024-4-10 10:54 编辑
2.4 Geo配置
以下步骤将完成:
- 在主节点和从节点之间,复制配置
- 在从节点上,配置一个额外的跟踪数据库
- 在从节点上,启用极狐GitLab
2.4.1 拷贝secrets
主节点和从节点的 /etc/gitlab/gitlab-secrets.json文件必须保持一致。
-
备份从节点secrets文件
mv /etc/gitlab/gitlab-secrets.json /etc/gitlab/gitlab-secrets.json.`date +%F`
-
复制主节点secrets文件到从节点
scp [email]root@1.13.24.86[/email]:/etc/gitlab/gitlab-secrets.json /etc/gitlab
-
修改权限
chown root:root /etc/gitlab/gitlab-secrets.json
chmod 0600 /etc/gitlab/gitlab-secrets.json
-
重启从节点
gitlab-ctl reconfigure
gitlab-ctl restart
2.4.2 拷贝SSH主机密钥
在灾难恢复的场景下,管理员通常会指定从节点成为新的主节点,同时会变更DNS指向从节点,这样客户端就不需要更改仓库地址也能拉取代码。
但由于从节点(新主节点)的SSH主机密钥与旧的主节点不一样,所以会导致客户端SSH请求失败,或者让用户重新确认主机指纹。
下列操作可以确保从节点和主节点的SSH主机密钥一致。
-
备份从节点主机密钥
find /etc/ssh -iname ssh_host_ -exec cp {} {}.backup.`date +%F` \;
-
拷贝主节点主机密钥
scp [email]root@1.13.24.86[/email]:/etc/ssh/ssh_host__key /etc/ssh
-
修改主机密钥权限
chown root:root /etc/ssh/ssh_host__key
chmod 0600 /etc/ssh/ssh_host__key
-
检查两边主机密钥一致性
在两边都运行,比对输出结果是否一致:
for file in /etc/ssh/ssh_host__key; do ssh-keygen -lf $file; done
输出:
256 SHA256:+zS8Eu3XaV/MS3LDNGXtnj4u8xBdIqdhmQjPkO2xg60 /etc/ssh/ssh_host_ecdsa_key.pub (ECDSA)
256 SHA256:r8hi50aXfS7yl8CuExLYr4DuW7JX20swoDlqPWKwKdo /etc/ssh/ssh_host_ed25519_key.pub (ED25519)
2048 SHA256:T+QzA8AJqD5UHoVsRIljDTdVy2ooimNWHJjJoue+O+U /etc/ssh/ssh_host_rsa_key.pub (RSA)
-
检查公钥和私钥的匹配性
在从节点上,拷贝过来的公钥和私钥的指纹应该是一致的。
#打印私钥的指纹
for file in /etc/ssh/ssh_host__key; do ssh-keygen -lf $file; done

#打印公钥的指纹
for file in /etc/ssh/ssh_host__key.pub; do ssh-keygen -lf $file; done
-
重新加载OpenSSH
# Debian 或 Ubuntu
service ssh reload
# CentOS
service sshd reload
-
重新登陆从节点
打开一个新的Terminal, 尝试是否可以成功登陆从节点。如果不能,请检查上述步骤。
2.4.3 添加从节点
-
配置gitlab.rb
编辑 /etc/gitlab/gitlab.rb文件,加入一行:
gitlab_rails['geo_node_name'] = 'us'
运行 gitlab-ctl reconfigure,使上述配置生效.
-
在界面上添加从节点
打开主节点GitLab界面:Admin Area > Geo (/docs/nodes)
点击 New node按钮,填写Name和URL,Name是从机 /etc/gitlab/gitlab.rb文件中的 gitlab_rails['geo_node_name'],URL是 external_url,必须和配置文件保持一致。
-
在从节点上运行 gitlab-ctl restart
-
在从节点上检查geo配置
gitlab-rake gitlab:geo:check
输出:
Checking Geo ...

GitLab Geo secondary database is correctly configured ... yes
Database replication enabled? ... yes
Database replication working? ... yes
GitLab Geo HTTP(S) connectivity ...
 Can connect to the primary node ... yes
GitLab Geo is available ...
GitLab Geo is enabled ... yes
This machine's Geo node name matches a database record ... yes, found a secondary node named "us"
HTTP/HTTPS repository cloning is enabled ... yes
Machine clock is synchronized ... yes
Git user has default SSH configuration? ... yes
OpenSSH configured to use AuthorizedKeysCommand ... skipped
  Reason:
  Cannot access OpenSSH configuration file
  Try fixing it:
  This is expected if you are using SELinux. You may want to check configuration manually
  For more information see:
  doc/administration/operations/fast_ssh_key_lookup.md
GitLab configured to disable writing to authorized_keys file ... yes
GitLab configured to store new projects in hashed storage? ... yes
All projects are in hashed storage? ... yes

Checking Geo ... Finished
在主节点上检查geo配置,确认与从节点的geo连接:
gitlab-rake gitlab:geo:check
输出:
Checking Geo ...

GitLab Geo is available ...
GitLab Geo is enabled ... yes
This machine's Geo node name matches a database record ... yes, found a primary node named "cn"
HTTP/HTTPS repository cloning is enabled ... yes
Machine clock is synchronized ... yes
Git user has default SSH configuration? ... yes
OpenSSH configured to use AuthorizedKeysCommand ... skipped
  Reason:
  Cannot access OpenSSH configuration file
  Try fixing it:
  This is expected if you are using SELinux. You may want to check configuration manually
  For more information see:
  doc/administration/operations/fast_ssh_key_lookup.md
GitLab configured to disable writing to authorized_keys file ... yes
GitLab configured to store new projects in hashed storage? ... yes
All projects are in hashed storage? ... yes

Checking Geo ... Finished
-
主节点界面
你的主节点Geo界面样例如下:

2.4.4 (可选)从节点信任主节点
- 如果你的主节点SSL证书由
权威CA颁发,那么你可以跳过这项配置。
- 如果你的主节点证书是自签的,那么你需要将主节点证书加入到从节点证书的
信任仓库中,具体步骤参考SSL Configuration.
2.4.5 为Geo启用HTTP/HTTPS
Geo默认通过 HTTP/HTTPS同步仓库,所以需要确保可以通过 HTTP/HTTPS进行克隆。
- 在主节点界面打开
Admin Area > Settings (/docs/admin/application_settings/general)
- 展开
Visibility and access controls
- 确认
Enabled Git access protocols被设置为 Both SSH and HTTP(S)或者 Only HTTP(S)"
2.4.6 检查从节点
你的从节点配置至此已经完成。
输出:
Name: secondary
URL: https://gitlab.gitlab-devops.com
-----------------------------------------------------
                        GitLab Version: 14.6.3-jh
                              Geo Role: Secondary
                         Health Status: Healthy
                          Repositories: 14/14 (100%)
                 Verified Repositories: 14/14 (100%)
                                 Wikis: 14/14 (100%)
                        Verified Wikis: 14/14 (100%)
                      CI job artifacts: 68/68 (100%)
                Container repositories: 2/2 (100%)
                   Design repositories: 1/1 (100%)
                           Lfs Objects: 2/2 (100%)
                   Merge Request Diffs: 8/8 (100%)
                         Package Files: 1/1 (100%)
              Terraform State Versions: 1/1 (100%)
                  Snippet Repositories: 1/1 (100%)
               Group Wiki Repositories: 1/1 (100%)
                    Pipeline Artifacts: 3/3 (100%)
                     Pages Deployments: 1/1 (100%)
                               Uploads: 3/3 (100%)
                  Repositories Checked: 14/14 (100%)
                  Lfs Objects Verified: 2/2 (100%)
          Merge Request Diffs Verified: 8/8 (100%)
                Package Files Verified: 1/1 (100%)
     Terraform State Versions Verified: 1/1 (100%)
         Snippet Repositories Verified: 1/1 (100%)
           Pipeline Artifacts Verified: 3/3 (100%)
            Pages Deployments Verified: 1/1 (100%)
                      Uploads Verified: 3/3 (100%)
                         Sync Settings: Full
              Database replication lag: 0 seconds
       Last event ID seen from primary: 533 (2 days ago)
     Last event ID processed by cursor: 533 (2 days ago)
                Last status report was: 1 minute ago
2.5 配置SSH密钥快速查找
-
默认情况下,GitLab通过查找遍历 ~git/.ssh/authorized_keys文件来判断用户是否可以访问GitLab, 该文件包含了用户访问Gitlab的公钥。如果用户需要频繁的更改自己的公钥,导致 authorized_keys文件越来越大,GitLab来不及缓存,那么GitLab将不得不频繁的访问硬盘,导致整个SSH鉴权比较缓慢。
因此,更快速的方法是,配置GitLab通过数据库查找SSH公钥指纹。
-
用户SSH Keys公钥始终记录在Postgresql数据库中,并且数据库是唯一可信的来源。以下配置仅仅是关闭从本地文件 ~git/.ssh/authorized_keys遍历的功能。
-
配置sshd_config
在主节点和从节点上,都配置 /etc/ssh/sshd_config文件,注意将下列代码插入文件的 头部:
Match User git    # 开始匹配,让AuthorizedKeysCommand仅适用于git用户
  AuthorizedKeysCommand /opt/gitlab/embedded/service/gitlab-shell/bin/gitlab-shell-authorized-keys-check git %u %k
  AuthorizedKeysCommandUser git
Match all    # 结束匹配, 配置再次适用于所有用户
-
重新加载OpenSSH
# Debian 或 Ubuntu
service ssh reload
# CentOS
service sshd reload
-
注销公钥并拉取代码
在 ~git/.ssh/authorized_keys(注意不是 /root/.ssh/authorized_keys)中找到并注销你自己用户的公钥,然后测试pull拉取代码是否依然成功。
如果成功,表明GitLab已经可以顺利从数据库找到公钥指纹,因为 authorized_keys文件里已经没有这个公钥了。
如果失败,请检查上述步骤。
-
新添加的SSH公钥依然会写入 authorized_keys, 想要禁止写入 authorized_keys,请在UI界面上打开 Admin Area > Settings > Network > Performance optimization,取消勾选 Write to "authorized_keys" file。
-
在UI界面上删除你的个人SSH Key,添加一个新SSH Key,测试是否能用新SSH Key对应的客户端成功拉取代码,新的SSH Key并不会出现在 ~git/.ssh/authorized_keys中。
-
如果以上均顺利通过,你可以备份并删除你的 ~git/.ssh/authorized_keys了。
2.6 用户指南
用户现在可以:
-
从 从节点上 pull代码:如果从节点的代码是最新的,则会直接拉取。如果不是最新的,则会自动到主节点上拉取代码。
-
直接 push代码到 从节点, 从节点会将 push请求转发到 主节点:
remote:
remote: This request to a Geo secondary node will be forwarded to the
remote: Geo primary node:
remote:
remote:   [email]git@cn.alexju.cn[/email]:root/p1.git
remote:
Counting objects: 4, done.
Delta compression using up to 4 threads.
Compressing objects: 100% (2/2), done.
Writing objects: 100% (3/3), 272 bytes | 0 bytes/s, done.
Total 3 (delta 1), reused 0 (delta 0)
To [email]git@us.alexju.cn[/email]:root/p1.git
  eaa4833..a678624  master -> master
2.7 特定类型数据同步
2.7.1 Merge Request Diffs 同步
默认情况下,merge request diffs存储在数据库中,表名称:merge_request_diff_files,随着数据量不端增加,推荐存储到外部存储,可以是本地存储,也可以是对象存储。
-
使用本地存储:
gitlab_rails['external_diffs_enabled'] = true
gitlab_rails['external_diffs_storage_path'] = "/mnt/storage/external-diffs"
-
使用对象存储:
gitlab_rails['external_diffs_enabled'] = true
gitlab_rails['external_diffs_object_store_enabled'] = true
gitlab_rails['external_diffs_object_store_remote_directory'] = "external-diffs"
gitlab_rails['external_diffs_object_store_connection'] = {
  'provider' => 'AWS',
  'region' => 'eu-central-1',
  'aws_access_key_id' => 'AWS_ACCESS_KEY_ID',
  'aws_secret_access_key' => 'AWS_SECRET_ACCESS_KEY'
}
-
折中方案
通常来说,存储在数据库中查询速度更快,折中方案是仅将过时的mr diffs存储在外部存储中:
gitlab_rails['external_diffs_when'] = 'outdated'
运行 gitlab-ctl reconfigure,使上述配置生效.
通过以上配置,Geo即可同步外部存储中的Merge request diffs。
2.7.2 Container registry 同步
Geo 默认不会同步Container Registry,需要手工开启。
registry["enable"] = true
registry_external_url "https://gitlab.gitlab-devops.com:5050"
registry['notifications'] = [
  {
    'name' => 'geo_event',
    'url' => 'https://<example.com>/api/v4/container_registry_event/events',
    'timeout' => '500ms',
    'threshold' => 5,
    'backoff' => '1s',
    'headers' => {
      'Authorization' => ['<replace_with_a_secret_token>']
    }
  }
]
其中,生成 replace_with_a_secret_token的方法: < /dev/urandom tr -dc _A-Z-a-z-0-9 | head -c 32 | sed "s/^[0-9]//"; echo
运行 gitlab-ctl reconfigure,使上述配置生效。
启用registry+配置主节点的registry url:
registry["enable"] = true
registry_external_url "https://gitlab.gitlab-devops.com:5050"
gitlab_rails['geo_registry_replication_enabled'] = true
gitlab_rails['geo_registry_replication_primary_api_url'] = 'https://gitlab.gitlab-devops.com:5050'
运行 gitlab-ctl reconfigure,使上述配置生效.
2.7.3 Pipeline artifacts 同步
无需特殊配置, 生成Pipeline artifacts的demo项目地址:Coverage Report
2.7.4 Pages deployment 同步
无需特殊配置,Pages的demo项目可以选择从模板中创建,比如 Pages/Hugo。
2.7.5 Terraform state 同步
无需特殊配置,Terraform state的demo项目地址:terraform-state-demo
 这边是不是个问题啊,内容没有显示出来338 人气#其他
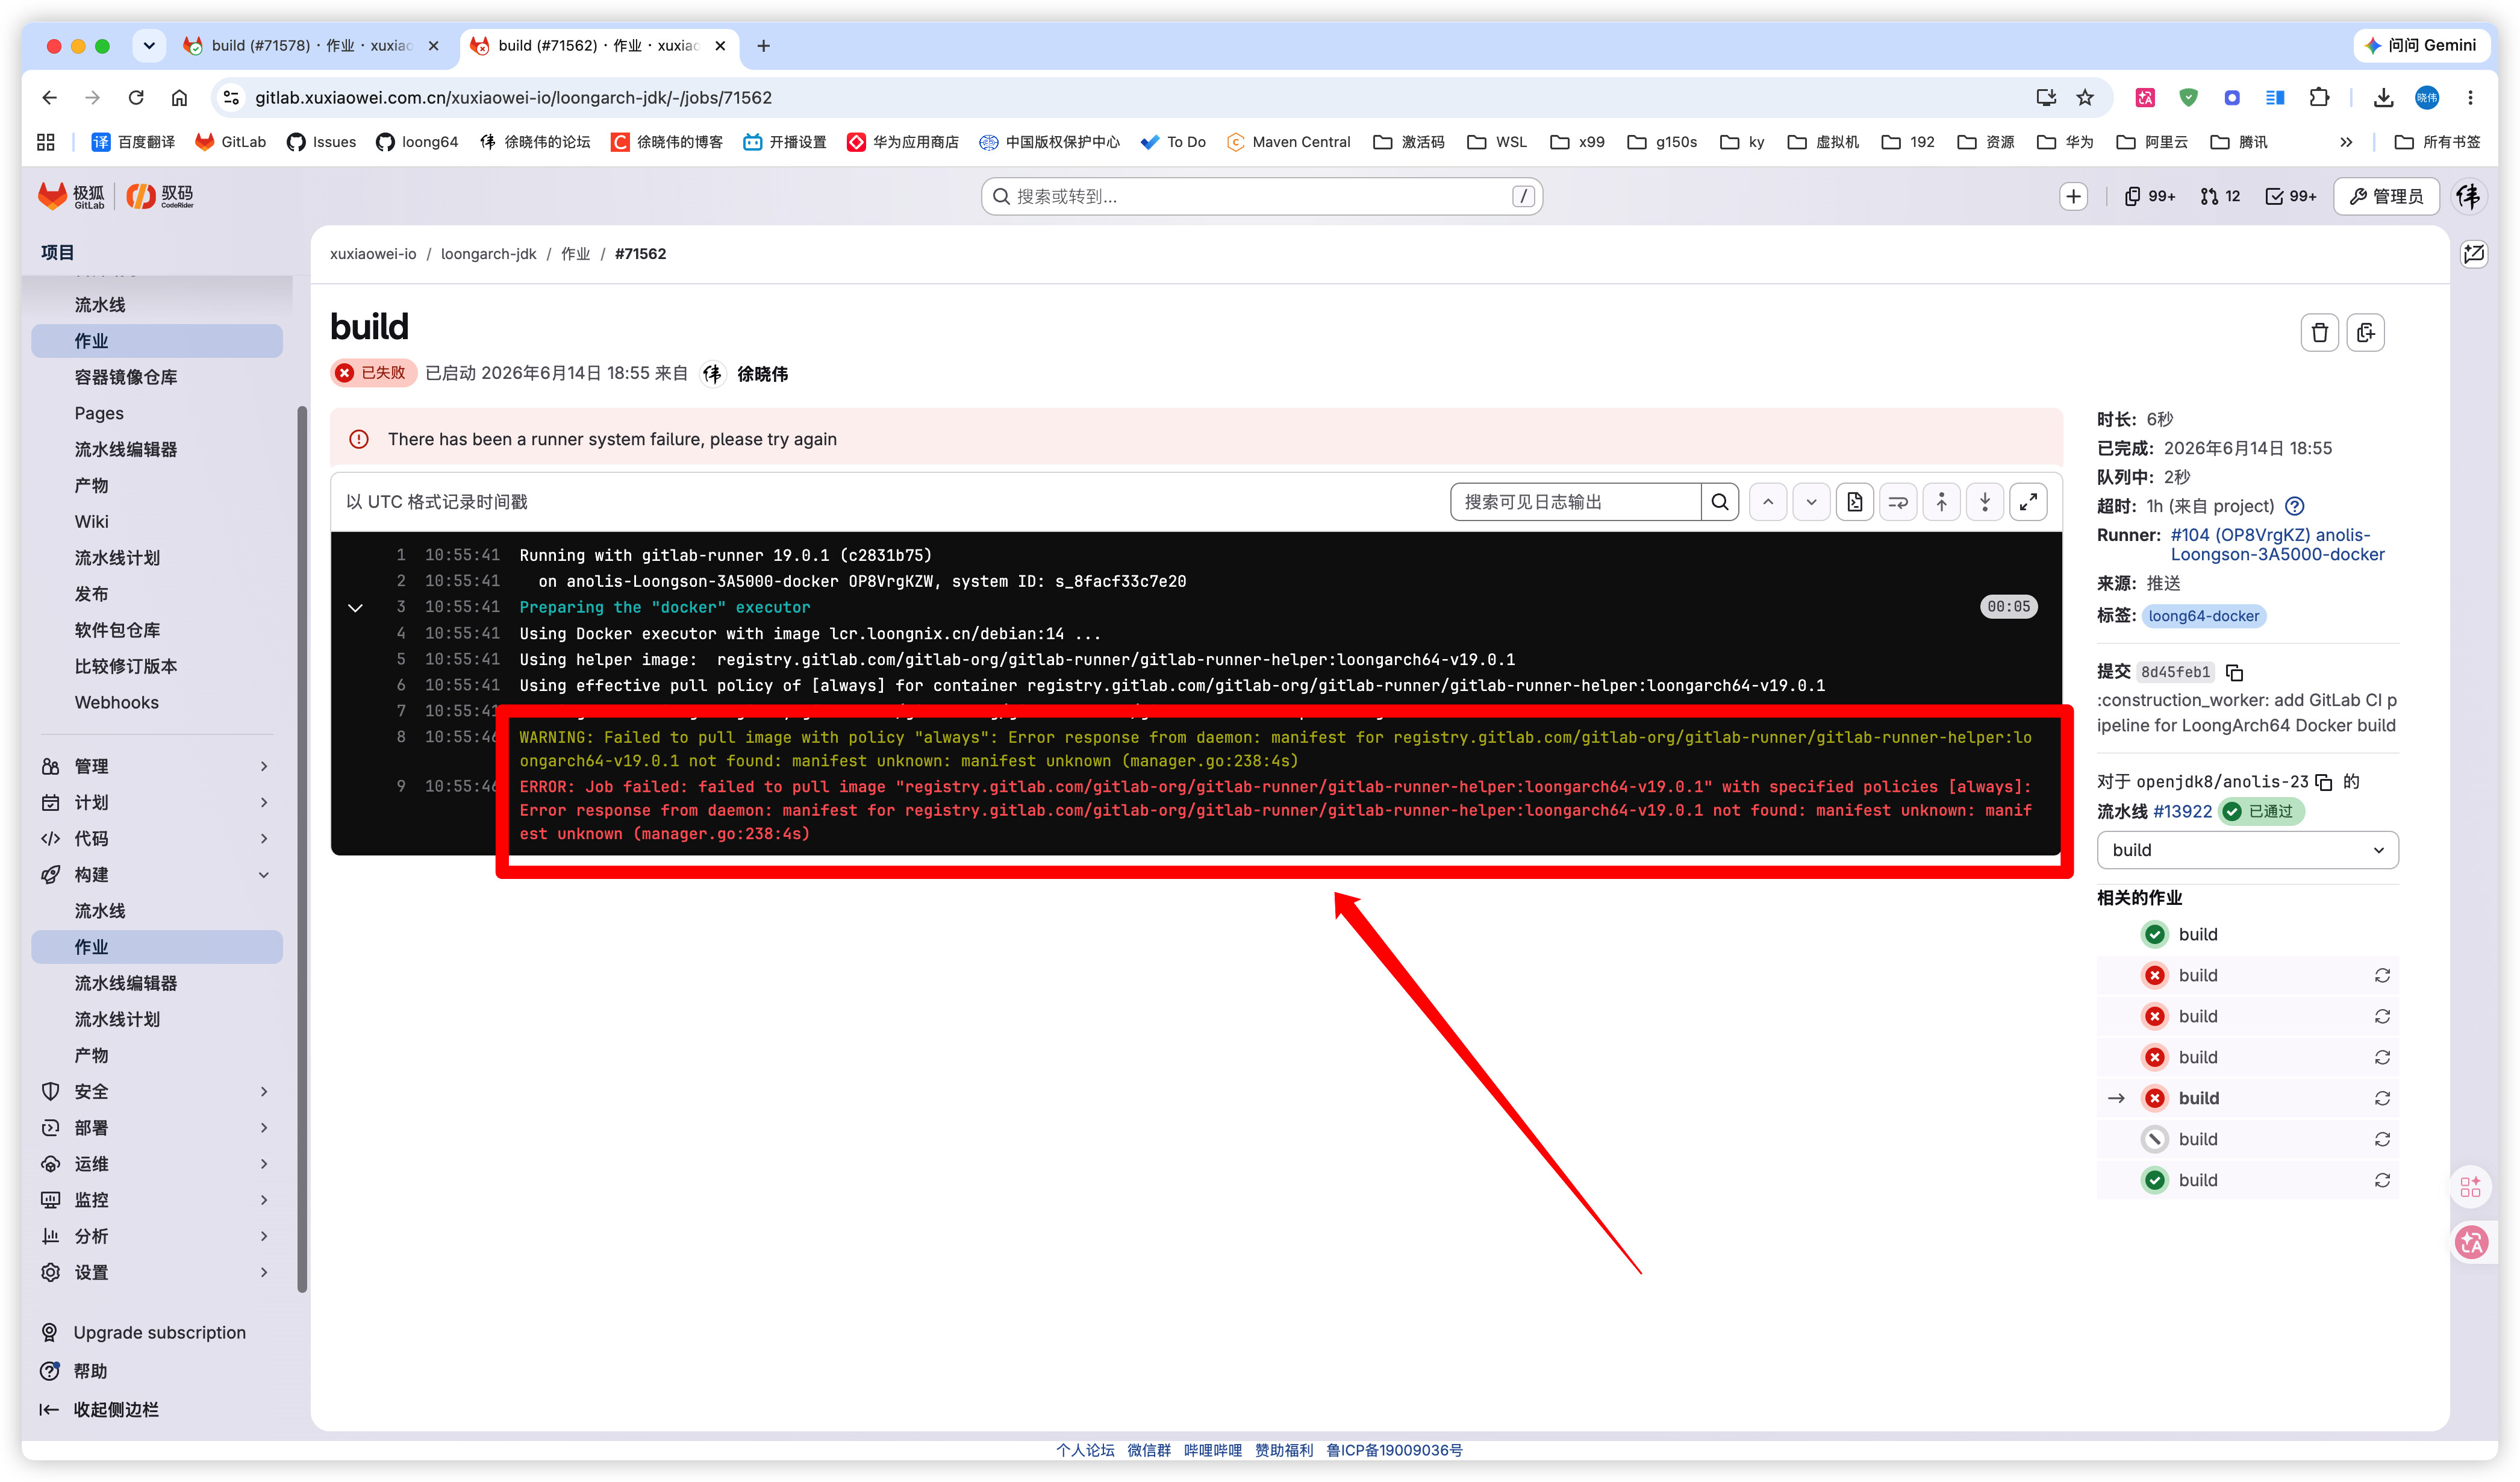 GitLab Runner 可以在 LoongArch64 (loong6428 人气#CI/CD
 CORERIDER插件2 人气#安全漏洞
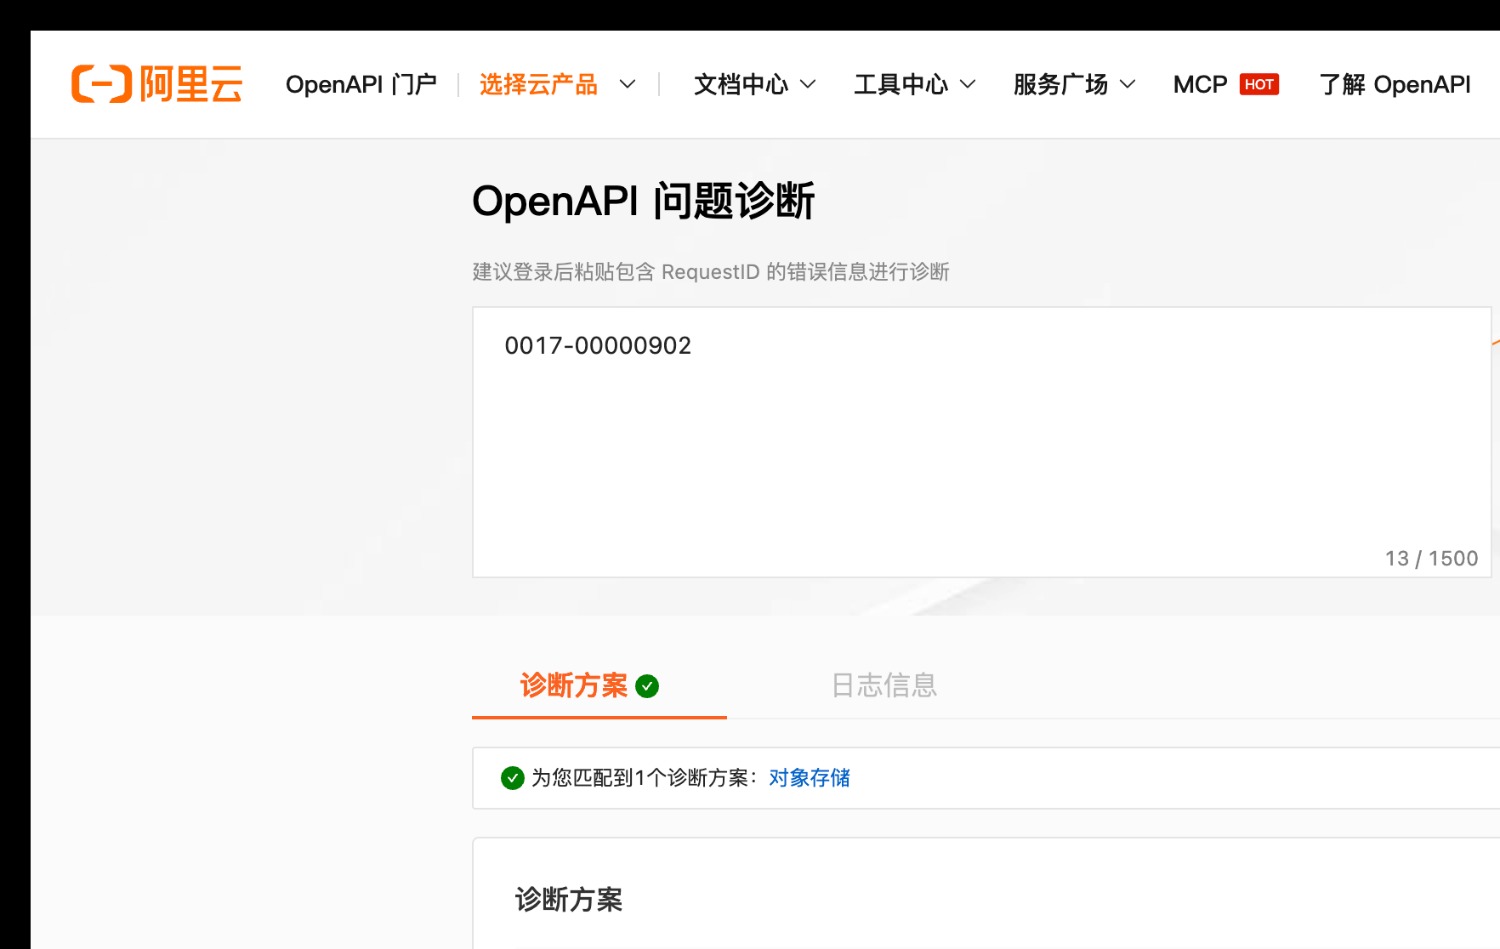 gitlab-jh:18.7.1 配置阿里云 OSS 对象存储1783 人气#安装配置
 关注公众号
关注公众号 添加专业顾问
